Ponytail Placement Tips
If your client likes variety and utilizes ponytails, your job as a stylist is to know every little detail about how they plan to style their hair. Do they like high ponys? Middle? Low? Updos? Once they’ve established their desired hairstyles, start mapping out the head. It’s important to know where the extensions will end up before you begin the application for a number of reasons: To know how many extensions will be needed, how to create the desired look, and an organized layout means more comfort.
High Ponytails
 @theroyaltreatmentwv
Thanks to Arianna Grande and her signature look a ponytail right at the top of her head with long flowing hair down to her waist (we’re talking extensions for days)- this is a very desired style at the moment. There’s no doubt you’ve had at least one client whose come in asking for this. When they do, give them realistic expectations and let them know to achieve that look, they can only use Cylinder or Keratin Fusion Extensions as they have more mobility than Tape-Ins, and are less likely to be seen. Make sure they’re well-informed on the pros and cons of both systems before they take the plunge.
When planning out placement for this style, the most important thing to note is to make sure there is enough hair to cover the nape of the neck and sides of the face. A good unit of measure is about 2 fingers wide, or a ½ inch. From there, the primary focus will be to create as much density as possible. This means plenty of cleanly-places rows.
Quick Tip: Remember when applying Keratin Fusion Extensions to try to match the density of the clients’ natural hair. Meaning, if they have thinner hair, you may have to cut the bonds with our Bond Cutting Pliers to create smaller bonds and lessen the tension on their hair. That being said, Cylinders might not be the best option for your client if their hair is thinner than the individual extension.
Mid-Length Ponytails
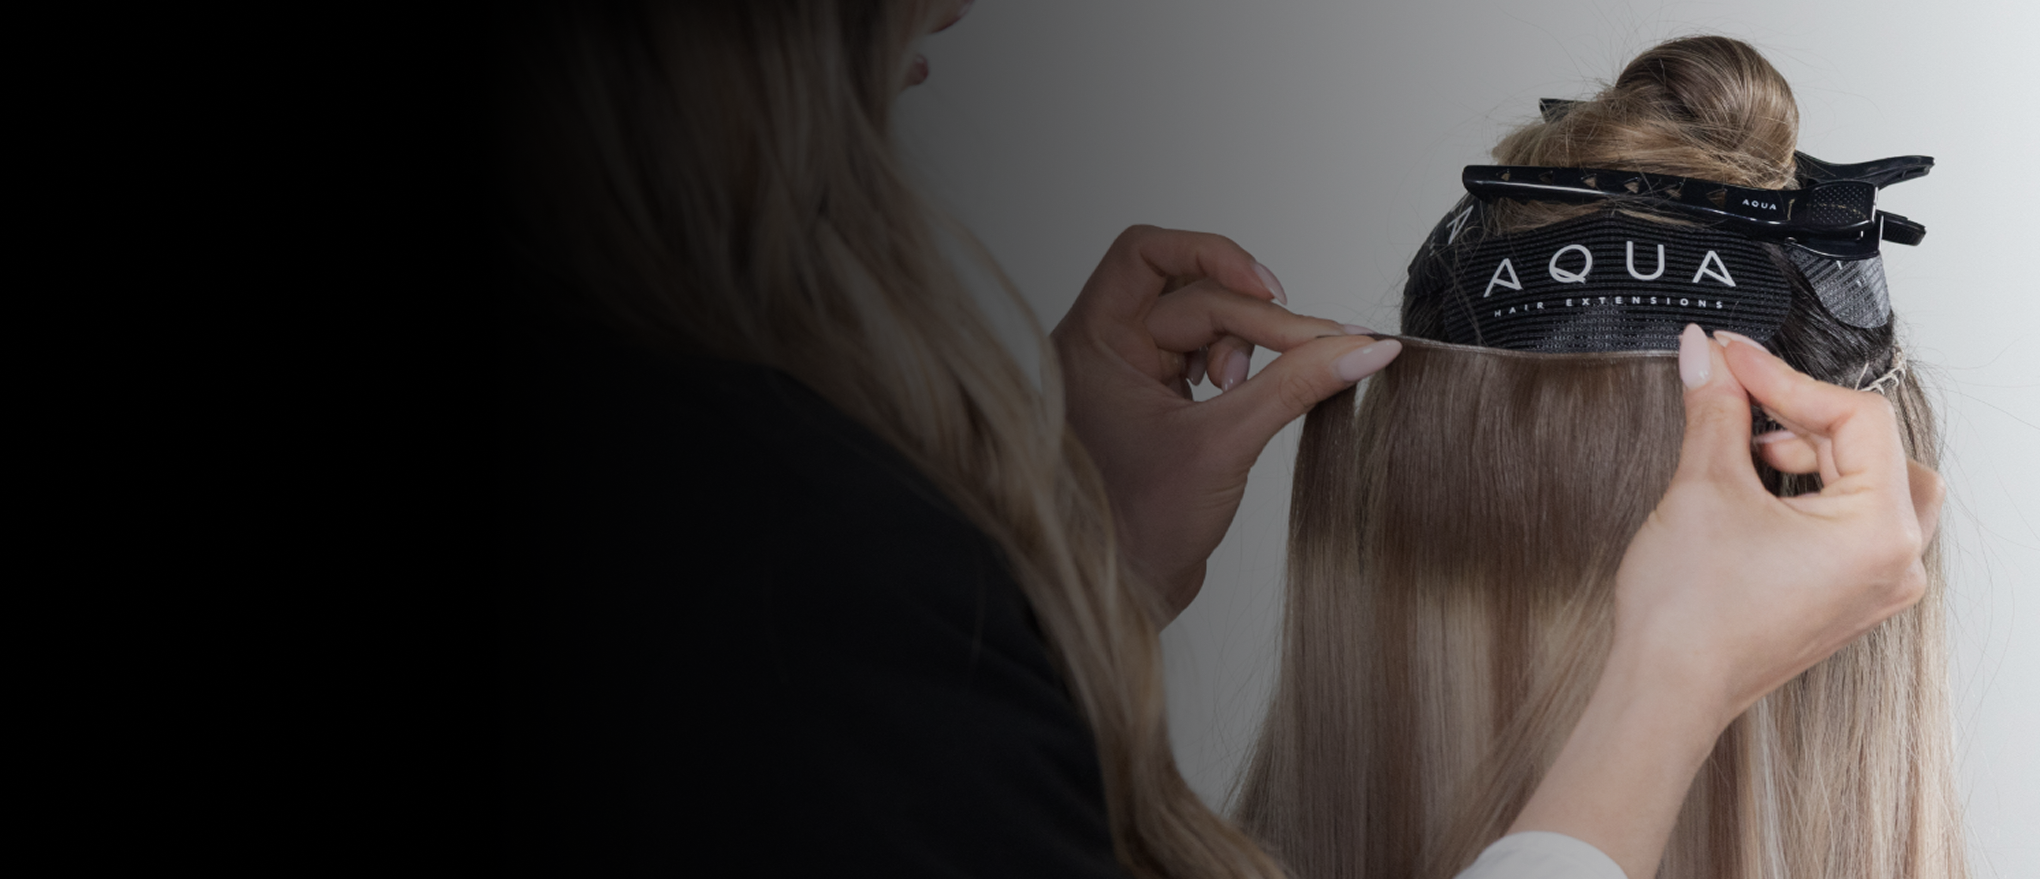
This style is more achievable with Tape-Ins, but can also be created with our other systems, always keeping in mind the perimeter of the face and neck. With Tape-Ins, it can be more challenging to place them in a way that will be comfortable for your client to wear back. In order to find a solution, have your client show you how they typically wear their hair up. This will give you an idea of where you'll want to avoid application. You'll probably have less surface area to work with on the scalp, therefore will be able to fit fewer Tape-Ins. To be able to accomplish this look with extensions, your client should be attempting to gain density, not length. Once you've mapped out where the extensions will be placed, it's time to begin the application process. When applying the extensions we always recommend placing them from top-to-bottom. This ensures enough space from the scalp, and flexibility for the tabs to move naturally. Here are a few things to keep in mind when creating an updo for your client: AVOID:- Pulling the hair too tight back, can cause too much tension on the hair.
- Overdirecting Tape-In Extensions in the opposite direction they naturally lays—this will cause unnecessary tension on the hair.
Low Ponytails
Any system can be worn to achieve this look. Generally, you can even apply the same Tape-In brick or row method placement structure that we recommend for most clients wanting length and thickness. Always keeping in mind to pull the hair back loosely away from the face to never add any unnecessary tension on the hair. All extension clients should be able to pull their hair back into a low ponytail without fear of the applications showing. @styles_by_reneemarie & @seagypsybeauty


